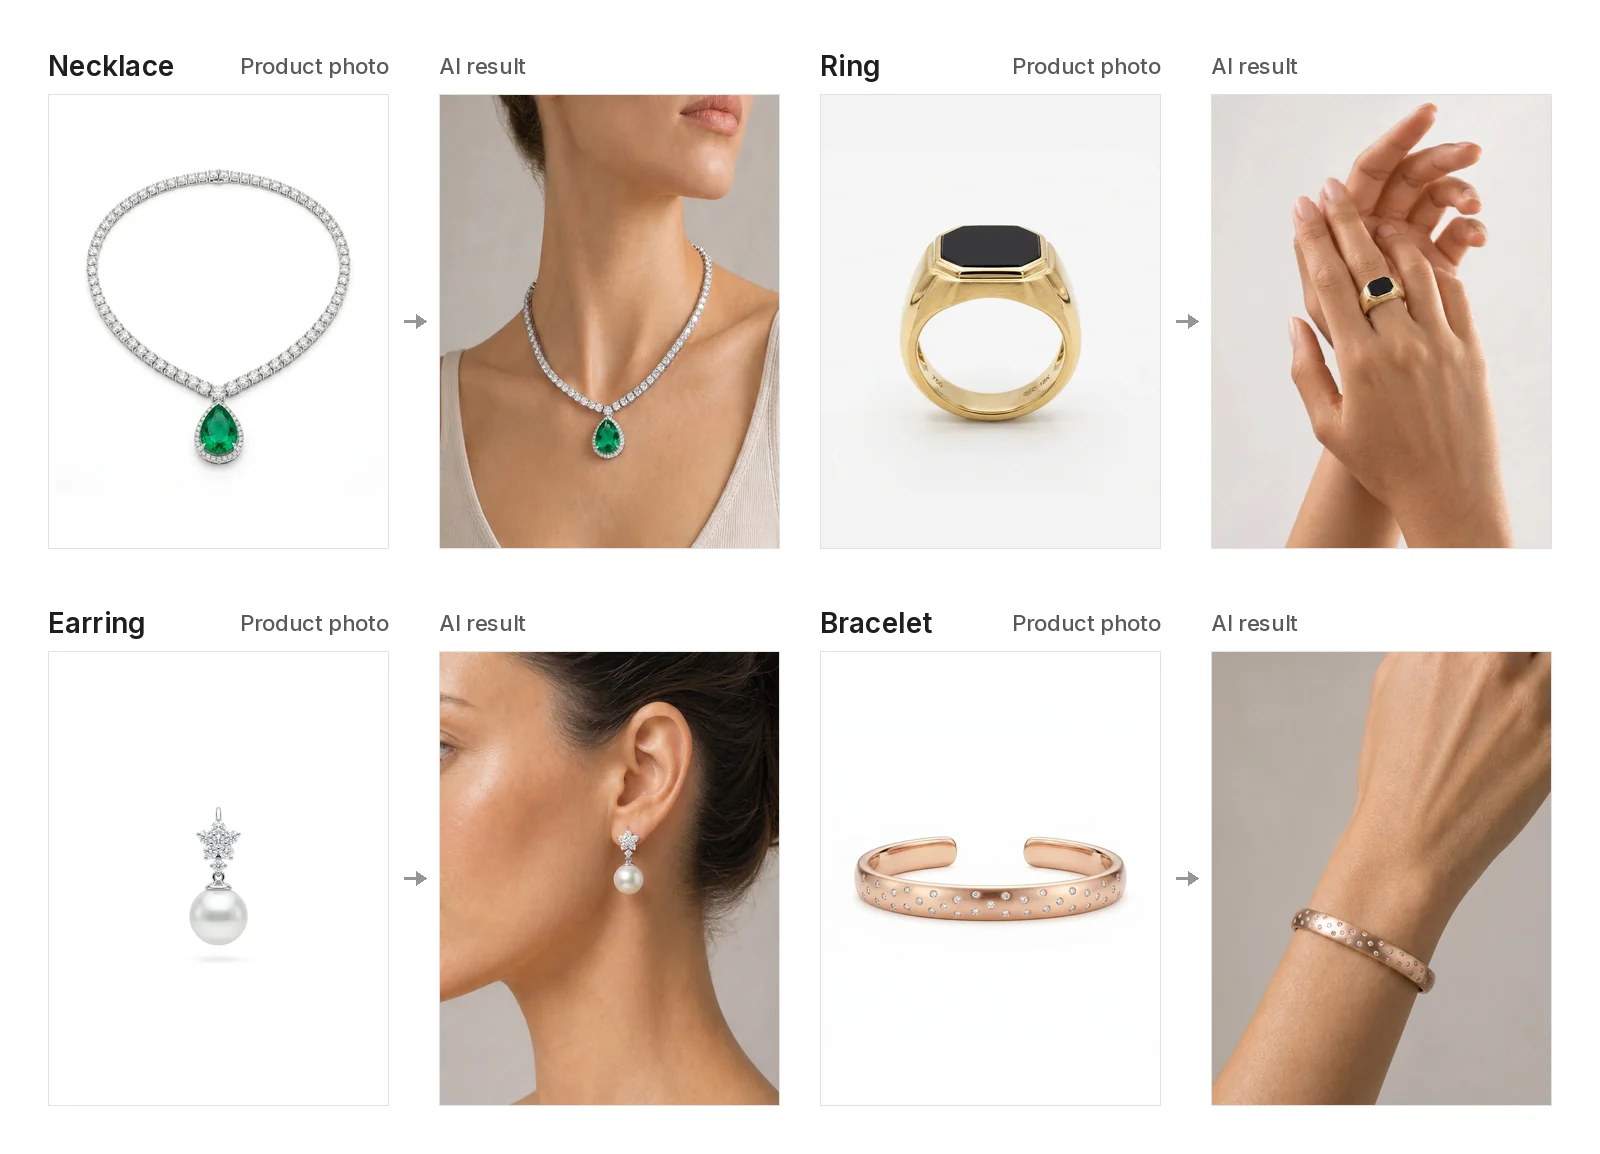
How to Put Photographs of Jewelry onto a Model with AI
Step-by-step: put your jewelry product photos onto a model with AI. Photo tips, Manual or Auto placement, credits, and what to check before you publish.
Short answer: Upload one clear product photo of the piece, choose the jewelry type and a model, click Create, place the piece on the model (yourself, or let Auto suggest a spot), then generate and check the result closely before you publish. You do not need a photoshoot, but you do need to review every image.
This guide walks through that process in Jewelry Model AI, step by step, using the screens you will actually see. It is written for sellers who already have photos of their jewelry and need them shown on a model, for a product page, a marketplace listing, ads or social posts.
If you are still choosing a tool, our comparison of AI tools that put jewelry on a model covers that. This post is only about how to do it.
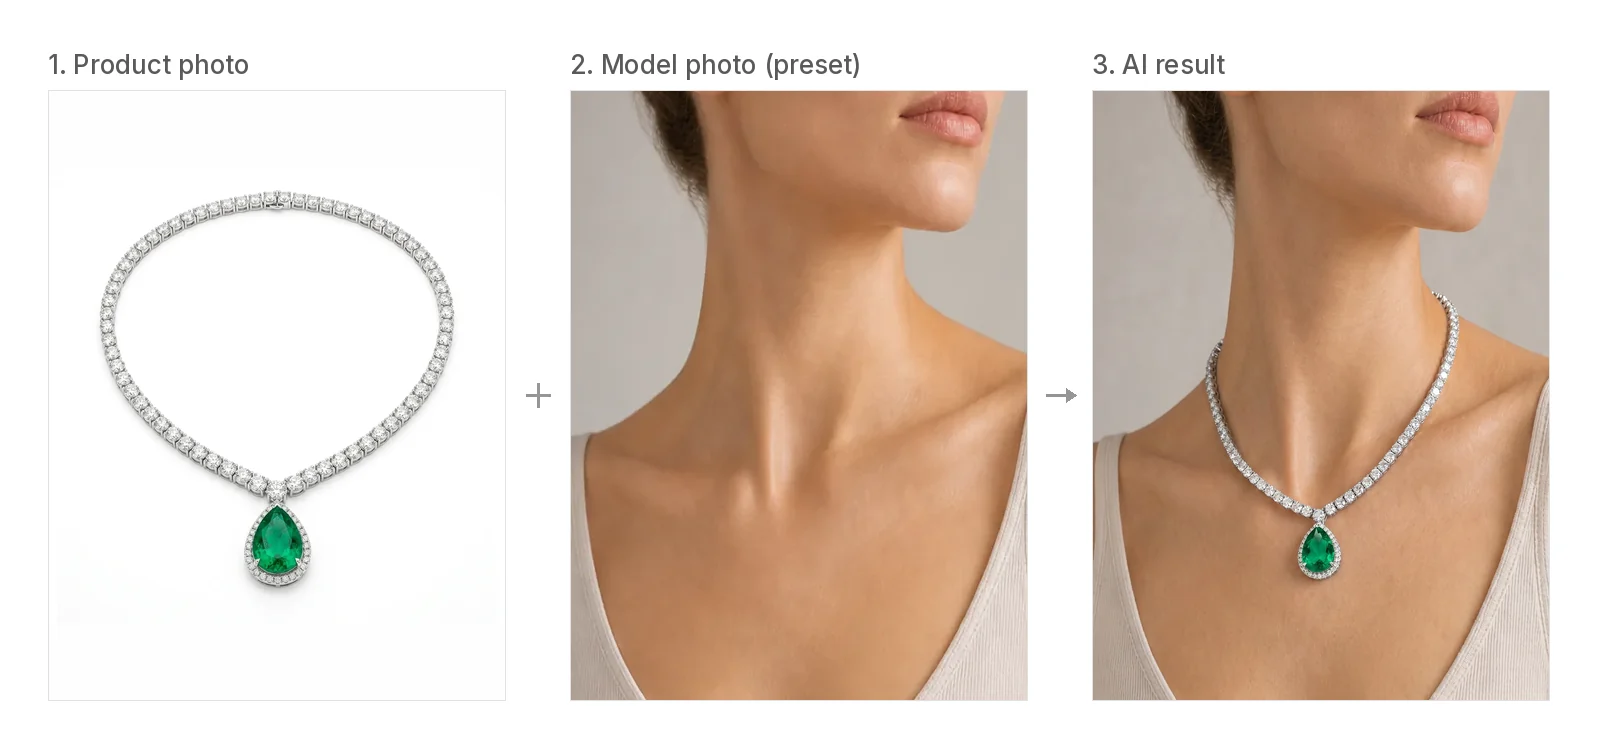
What you need before you start
- One product photo per piece. JPG, PNG or WebP, up to 10MB. A white-background shot, a flat lay or a clean smartphone photo all work.
- An account. You can upload and set things up without signing in, but you need to sign in to generate. New accounts get free credits at sign-up, with no credit card required.
- Optional: your own model photo. If you want the same face across a collection, have a photo you have the rights to use, with the neck, ear, hand or wrist clearly visible.
- A few minutes. Most images are ready in about 1–2 minutes.
How to prepare your jewelry product photo
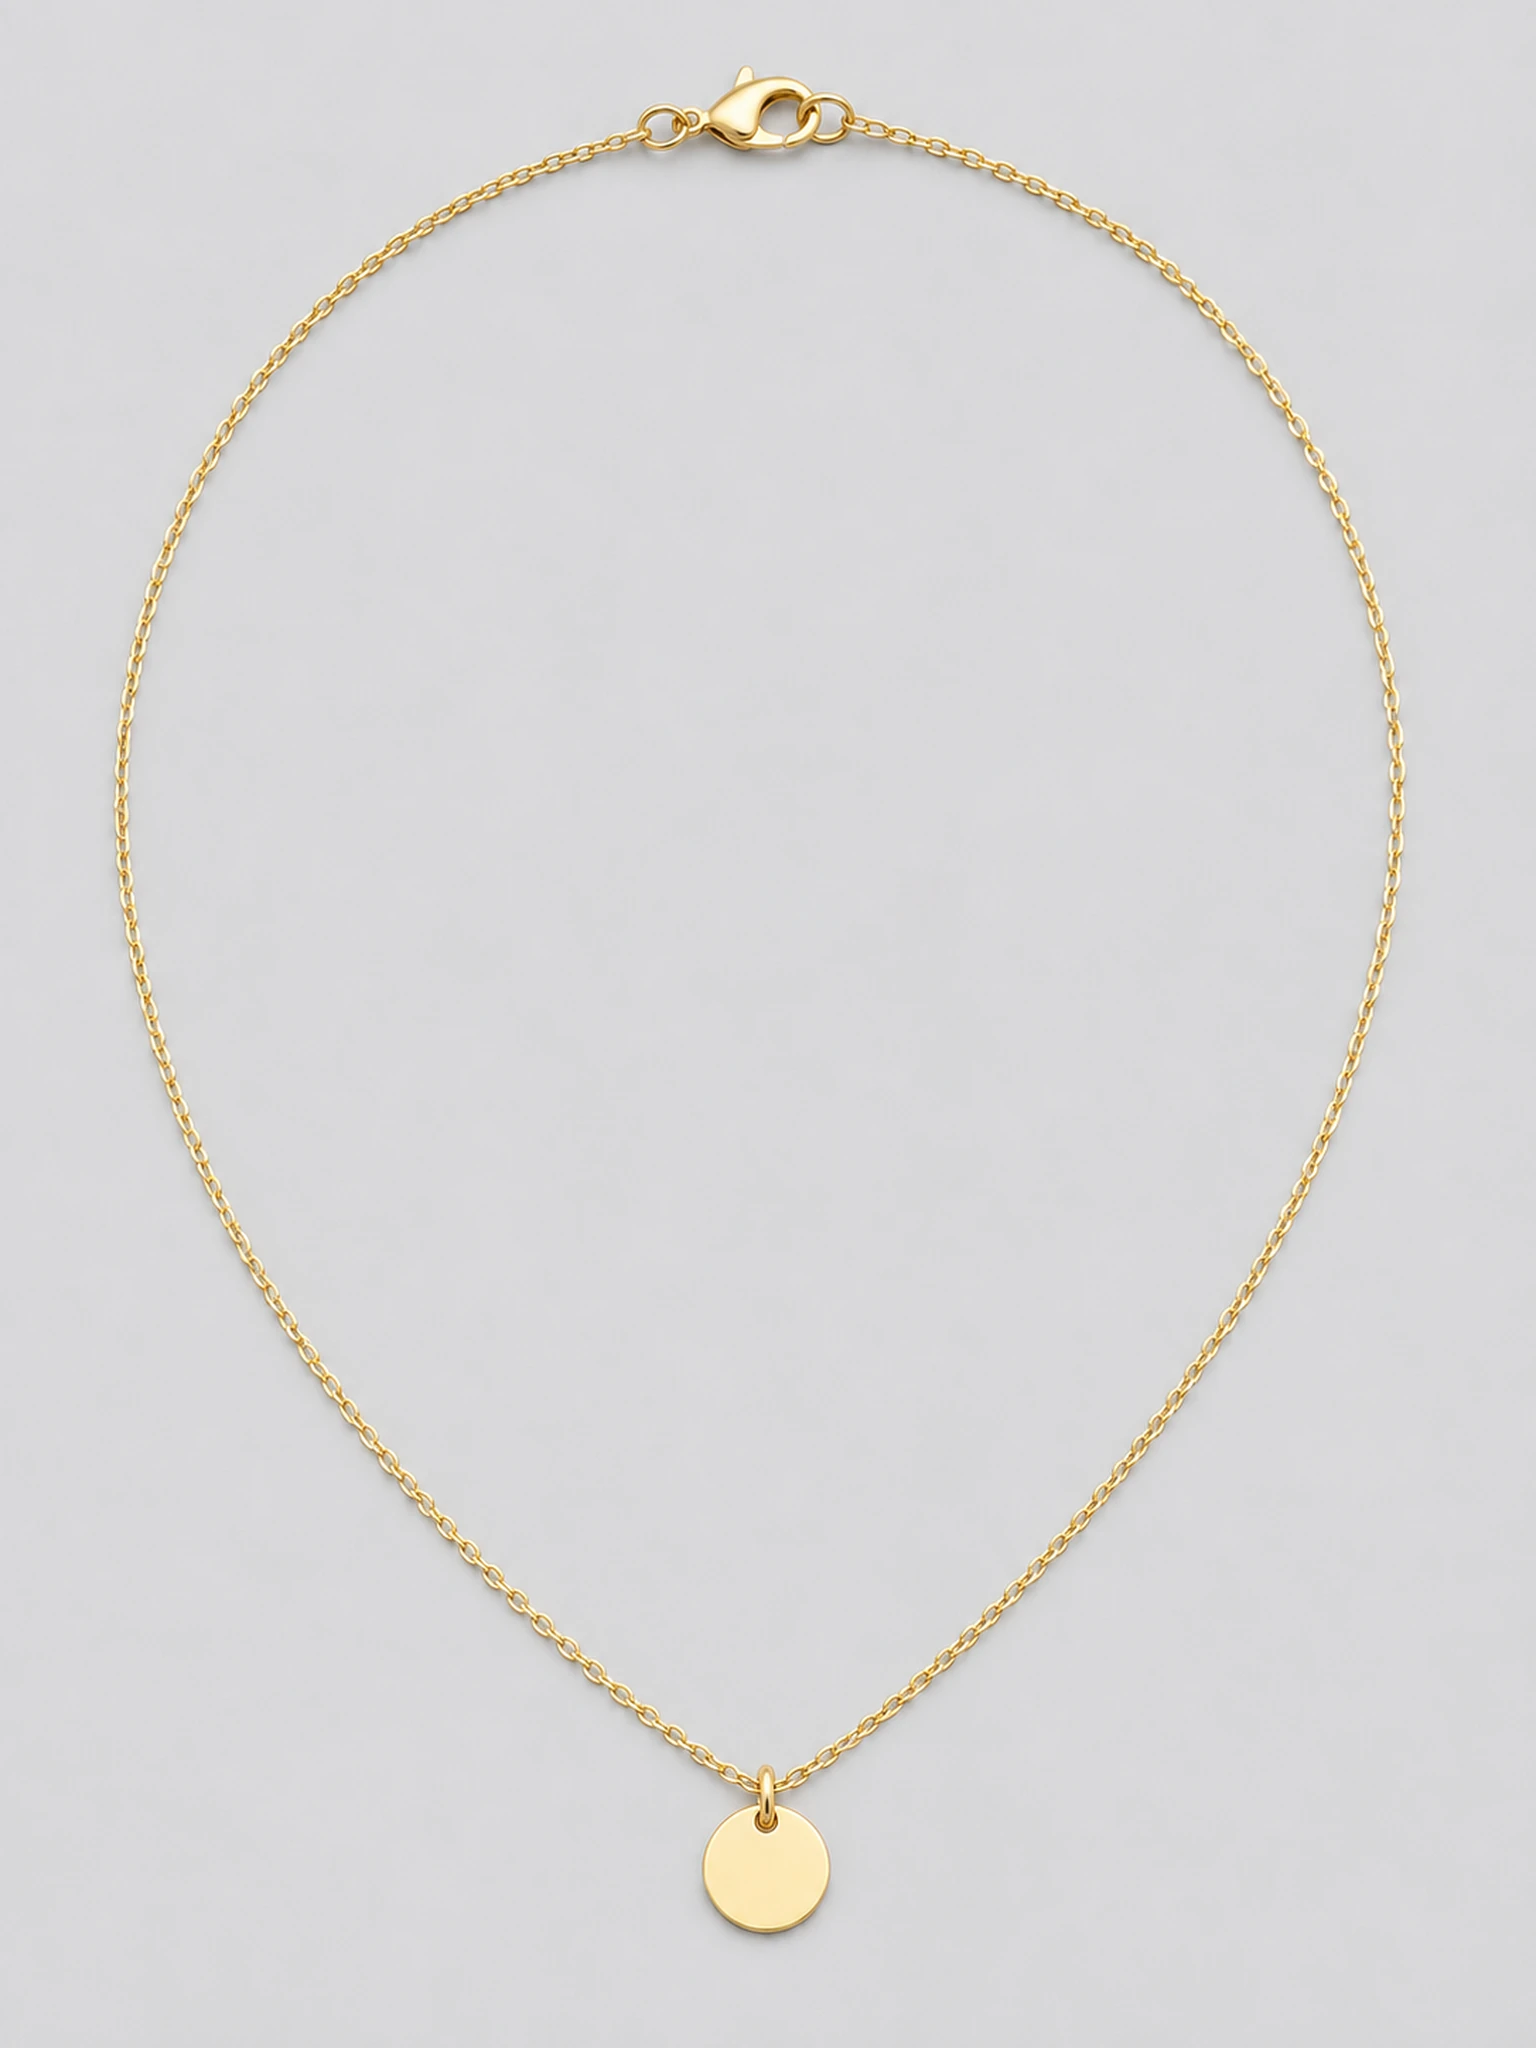
The product photo is the reference the AI works from. A cleaner photo means fewer surprises in the result.
- Show one piece. Remove props, extra pieces, text overlays and price tags.
- Fill most of the frame. The piece should be the clear subject, not a small item in a big scene.
- Use even, soft light. Strong glare can hide stones and make metal look a different color.
- Show the whole piece. For necklaces, keep the full chain, the clasp and the pendant in frame. For rings, show the stones and the setting clearly.
- Keep it sharp. Blurry links or stones are hard for any model to keep accurate.
If you have extra angles of the same piece, you can add up to two of them in Step 2 under More Views (Optional). They are optional; one good main photo is the important part.
Step-by-step: put your jewelry on a model
Step 1: Open the generator and choose the jewelry type
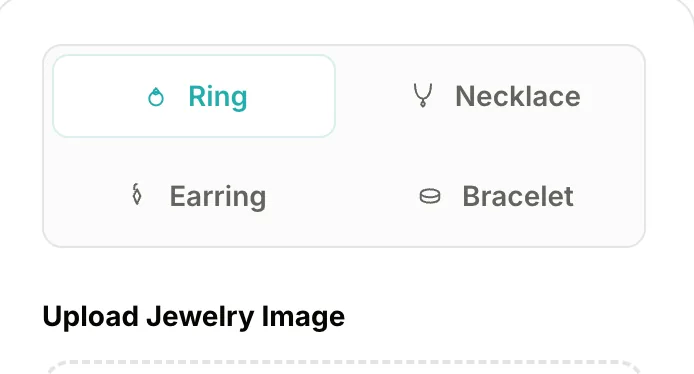
Open the jewelry model generator on our homepage and click Try a Product Photo. At the top of the panel, choose Ring, Necklace, Earring or Bracelet. The type decides which preset models you see and how the piece is placed.
Necklaces give the most consistent results. Rings, earrings and bracelets are marked Beta, and their results vary more, so it is worth testing them with your free credits first. If you only sell necklaces, the AI necklace model page opens the same generator with Necklace already selected.
For earrings, you can also choose whether your product photo shows a single earring or a pair, under Product Set.
Step 2: Upload your product photo
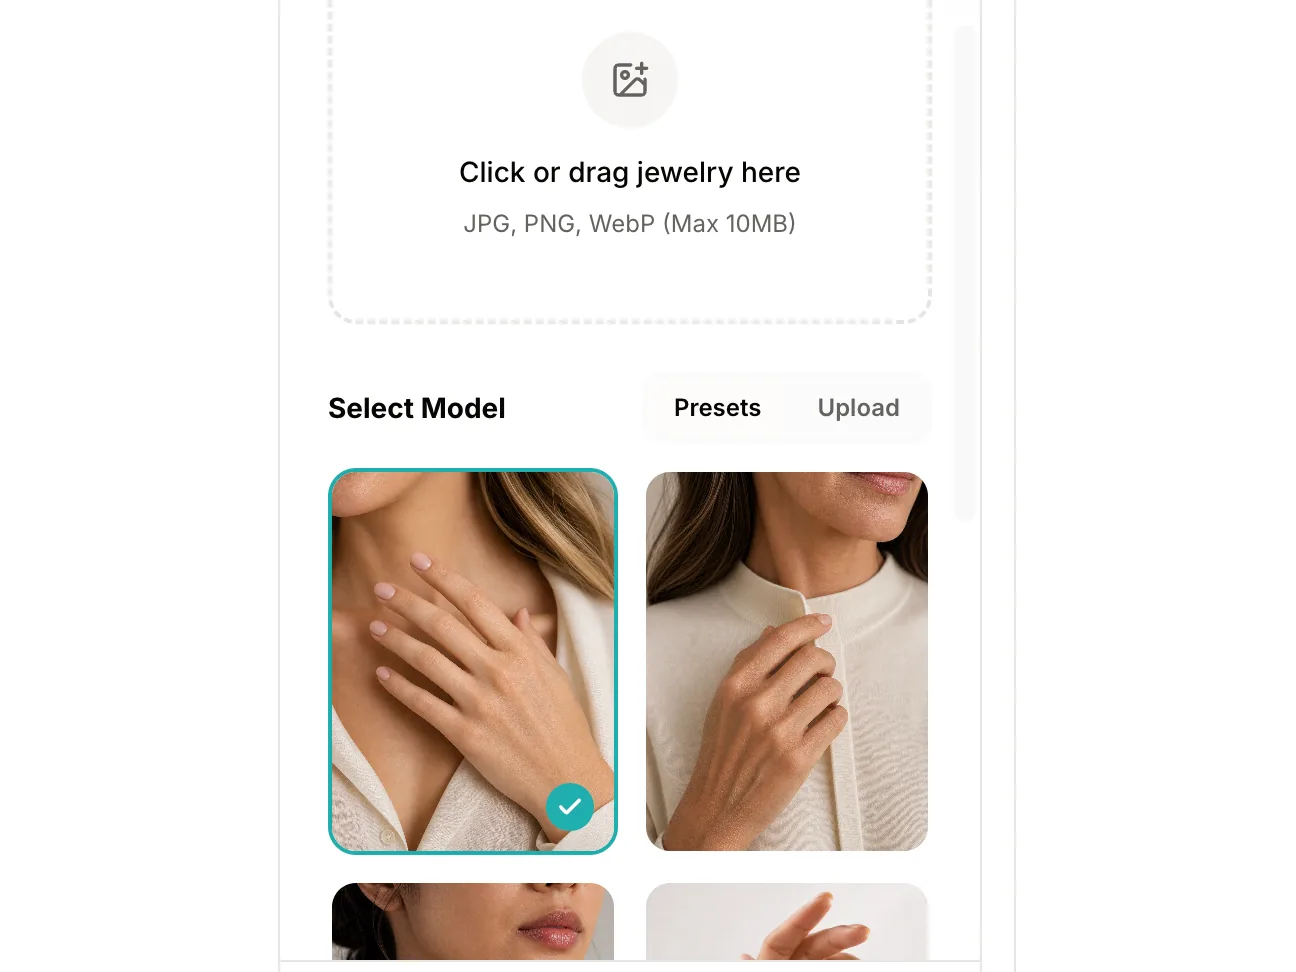
Under Upload Jewelry Image, click or drag your photo into the box. You will see a preview of it straight away. To use a different photo, remove it and upload again.
Once the main photo is in, a More Views (Optional) box appears below it. Click Add another view to add up to two more photos of the same piece, such as a side view, the back, or a close-up of the clasp or setting. They follow the same rules as the main photo (JPG, PNG or WebP, up to 10MB). This works for every jewelry type and with both Manual and Auto placement, and it does not change the credit cost. The AI uses the extra views only as a reference for how the piece looks, not for where it goes; the main photo is still the one placed on the model. If you replace the main photo, the extra views are cleared, so add them again.
Step 3: Pick a preset model or upload your own
Under Select Model, stay on Presets and click one of the preset model photos, or switch to Upload to use your own model photo. Each jewelry type has its own set of presets framed for that piece, for example a neckline for necklaces or a hand for rings.
Step 4: Check the ratio, resolution and cost
At the bottom of the panel you will see the current settings, for example 3:4 • 2K, and the cost, for example Cost: 10 Credits. Click the settings to change them:
- Aspect ratio: 3:4, 4:5, 1:1, 2:3 or 9:16. Use 3:4 or 4:5 for product pages and 9:16 for stories.
- Resolution: 2K uses 10 credits. 4K uses 15 credits and needs a paid plan. 2K is enough for most product pages; choose 4K if shoppers zoom in or you crop for ads.
Step 5: Click Create and choose Manual or Auto placement
Click Create. Nothing is charged yet. A small window asks how you want to place the piece:
- Manual Placement (Recommended): you set the position, size and angle yourself. This gives you the most control.
- Auto Placement: the AI decides where to place the jewelry automatically. If Auto can't place it, you'll be asked to adjust it manually.
Manual is the better choice when the exact spot matters, for example a pendant that should sit just below the collarbone, or a ring on a particular finger.
Step 6: Position your jewelry (Manual)
If you chose Manual, the Position Your Jewelry editor opens. It first removes the background from your product photo, which takes a few seconds, and then shows the cut-out piece on the model.
- Drag the piece to move it.
- Use the Scale slider to make it bigger or smaller.
- Use the Rotation slider to change its angle.
- Click Reset Position to start again, or Cancel to leave without generating.
Set the size to match the real piece as closely as you can by eye. A delicate pendant should not look like a statement piece. The editor is a visual guide; it does not measure the jewelry.
Step 7: Confirm and generate
When the piece is where you want it, click Confirm & Generate. This is the step that starts the paid generation. Credits are charged only when an image is delivered. If a job errors out and no image is delivered, its credits go back to your balance automatically.
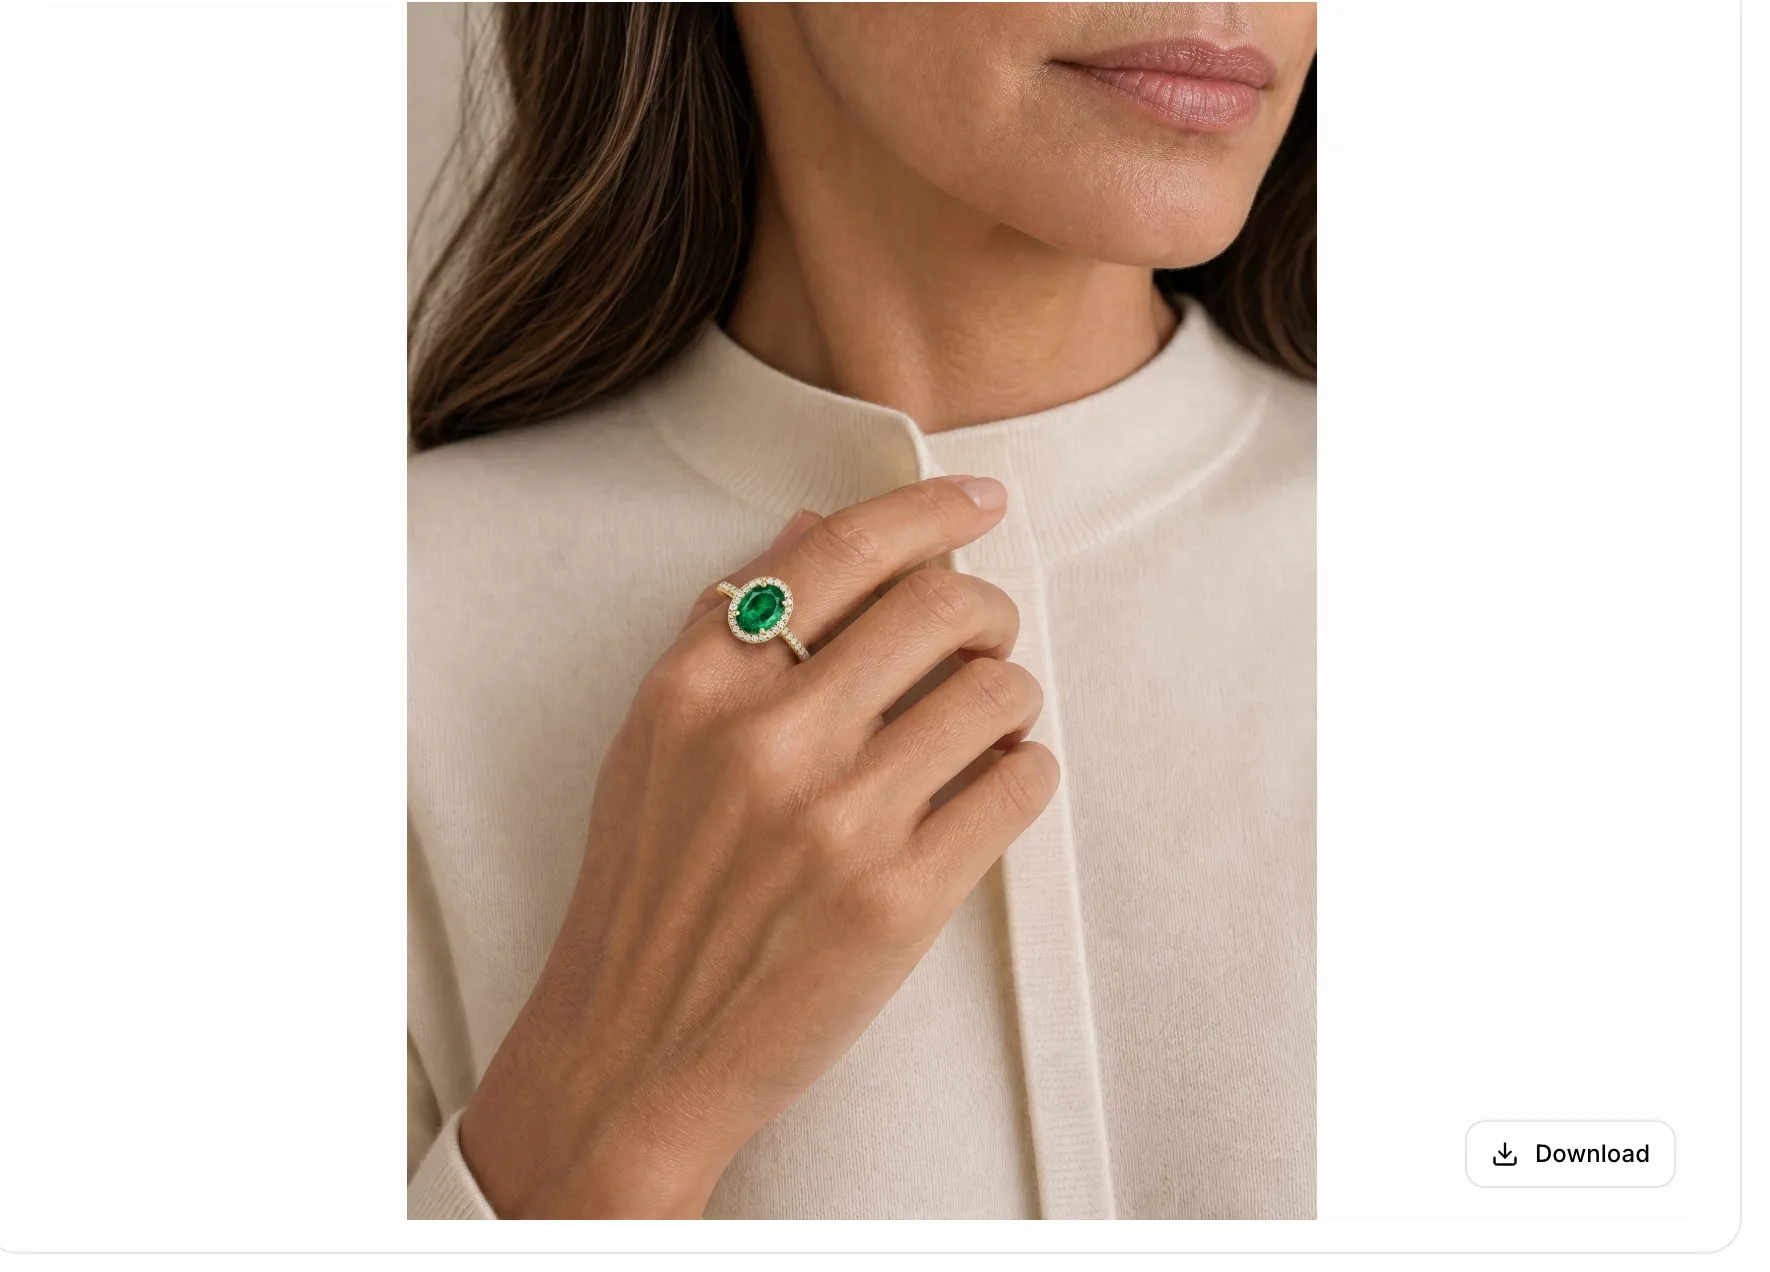
The result appears in the preview panel in about 1–2 minutes. You can also find it later in My Results in your account. Click Download to save it.
What to check in the result
The AI uses your photo as the reference, but it rebuilds the image rather than copying it pixel by pixel. Small details can still change. Zoom in to about 200% and check:
- Chain and links: the link style should match, with no extra connectors or gaps.
- Clasp: it should still look like your clasp, not a decoration.
- Metal color: compare the widest flat area of metal with your product photo. Warm lighting can shift silver, rose gold and yellow gold.
- Stones: count them, and check the shape, color and settings. Look for added, missing or merged stones and moved prongs.
- Size and position: the piece should look like the real size on the model, and a pendant should sit where it would really sit.
- Pairs: for earrings, both sides should match.
If something is wrong, try a cleaner product photo or adjust the placement and generate again. If a delivered image materially changes your jewelry and regenerating doesn't fix it, contact support. Once we verify it, we restore the credits. Cash refunds are available within 7 days of your first purchase under our refund policy.
What this does not do
It helps to be clear about the limits, so the images are used the right way:
- It is not a live try-on or AR. It makes a still image. It does not use a camera.
- It does not measure size or length. The image is a visual guide, not proof that a necklace is 16 or 18 inches long.
- It does not replace your check. Every image needs a human look before it goes on a listing.
Credits, pricing and using the images
New accounts get free credits at sign-up so you can try the process. Images made with those free credits are for trying the tool and are not licensed for commercial use. Images generated on a paid plan include a commercial-use license under our Terms, so you can use them on product pages, social media and ads. You still need the rights to any jewelry, model or reference photo you upload.
See the pricing page for plans and monthly credits. On the Starter plan, a 2K image works out to about $0.38.
Selling on Etsy? Etsy requires at least one unedited photo of the actual item in each listing. It doesn't have to be the first image, and Etsy recommends noting AI edits in the description. Keep your real photo in the listing and use these images as additional photos.
FAQ
Can I use my own model photo? Yes. Choose Upload instead of Presets under Select Model. You need the rights to the photo and the model's permission to use it.
Is this a live try-on or AR? No. It creates a still image of your jewelry on a model. It does not use your camera and does not show the piece moving.
Can it show the exact size of my piece? No. It does not measure anything. In Manual placement you set the size by eye, so treat the image as a visual guide, not proof of size or length.
When are credits charged? A 2K image uses 10 credits and a 4K image uses 15 credits. Credits are charged only when an image is delivered. If a job errors out and no image is delivered, its credits go back to your balance automatically. If a delivered image materially changes your jewelry and regenerating doesn't fix it, contact support. Once we verify it, we restore the credits. Cash refunds are available within 7 days of your first purchase under our refund policy.
Can I sell with these images? Images generated on a paid plan include a commercial-use license under our Terms. Images made with the free credits you get at sign-up are for trying the tool and are not licensed for commercial use.
Can I use the images on Etsy? Etsy requires at least one unedited photo of the actual item in each listing. It doesn't have to be the first image, and Etsy recommends noting AI edits in the description. Keep your real photo in the listing and use these images as additional photos.
Author

More Posts
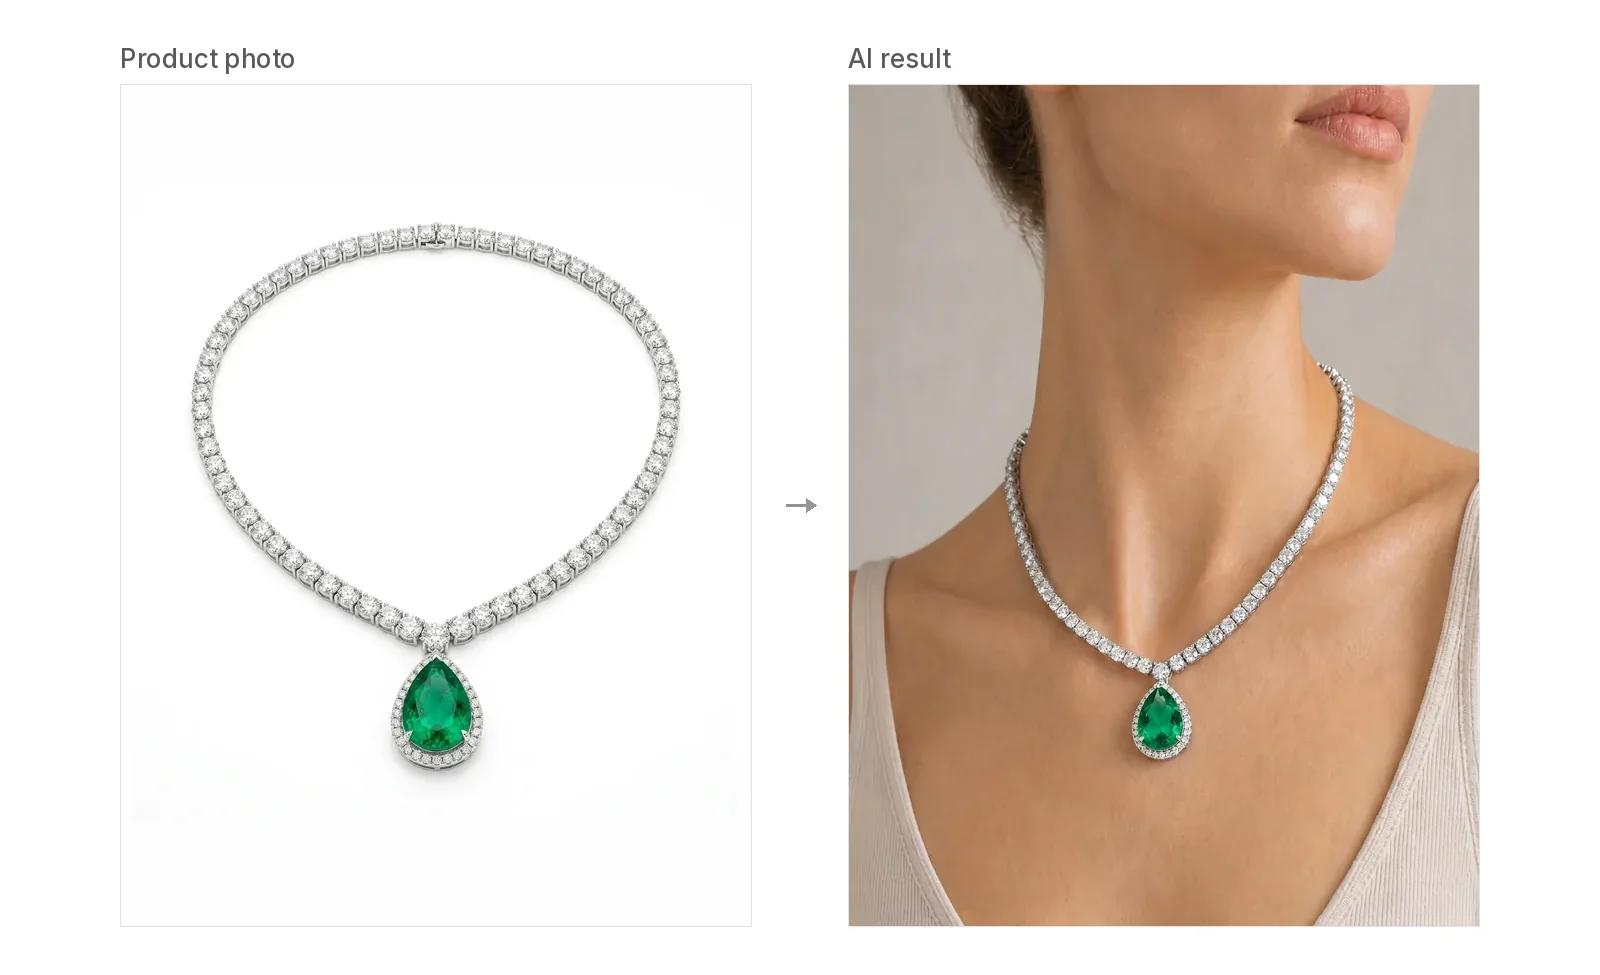
Can I Use AI-Generated Model Photos to Sell Jewelry? Disclosure, Etsy, and Image Rights
Can you sell jewelry with AI model photos? What our license covers, Etsy and Google Merchant rules, Meta AI labels, ad honesty, and consent for real faces.
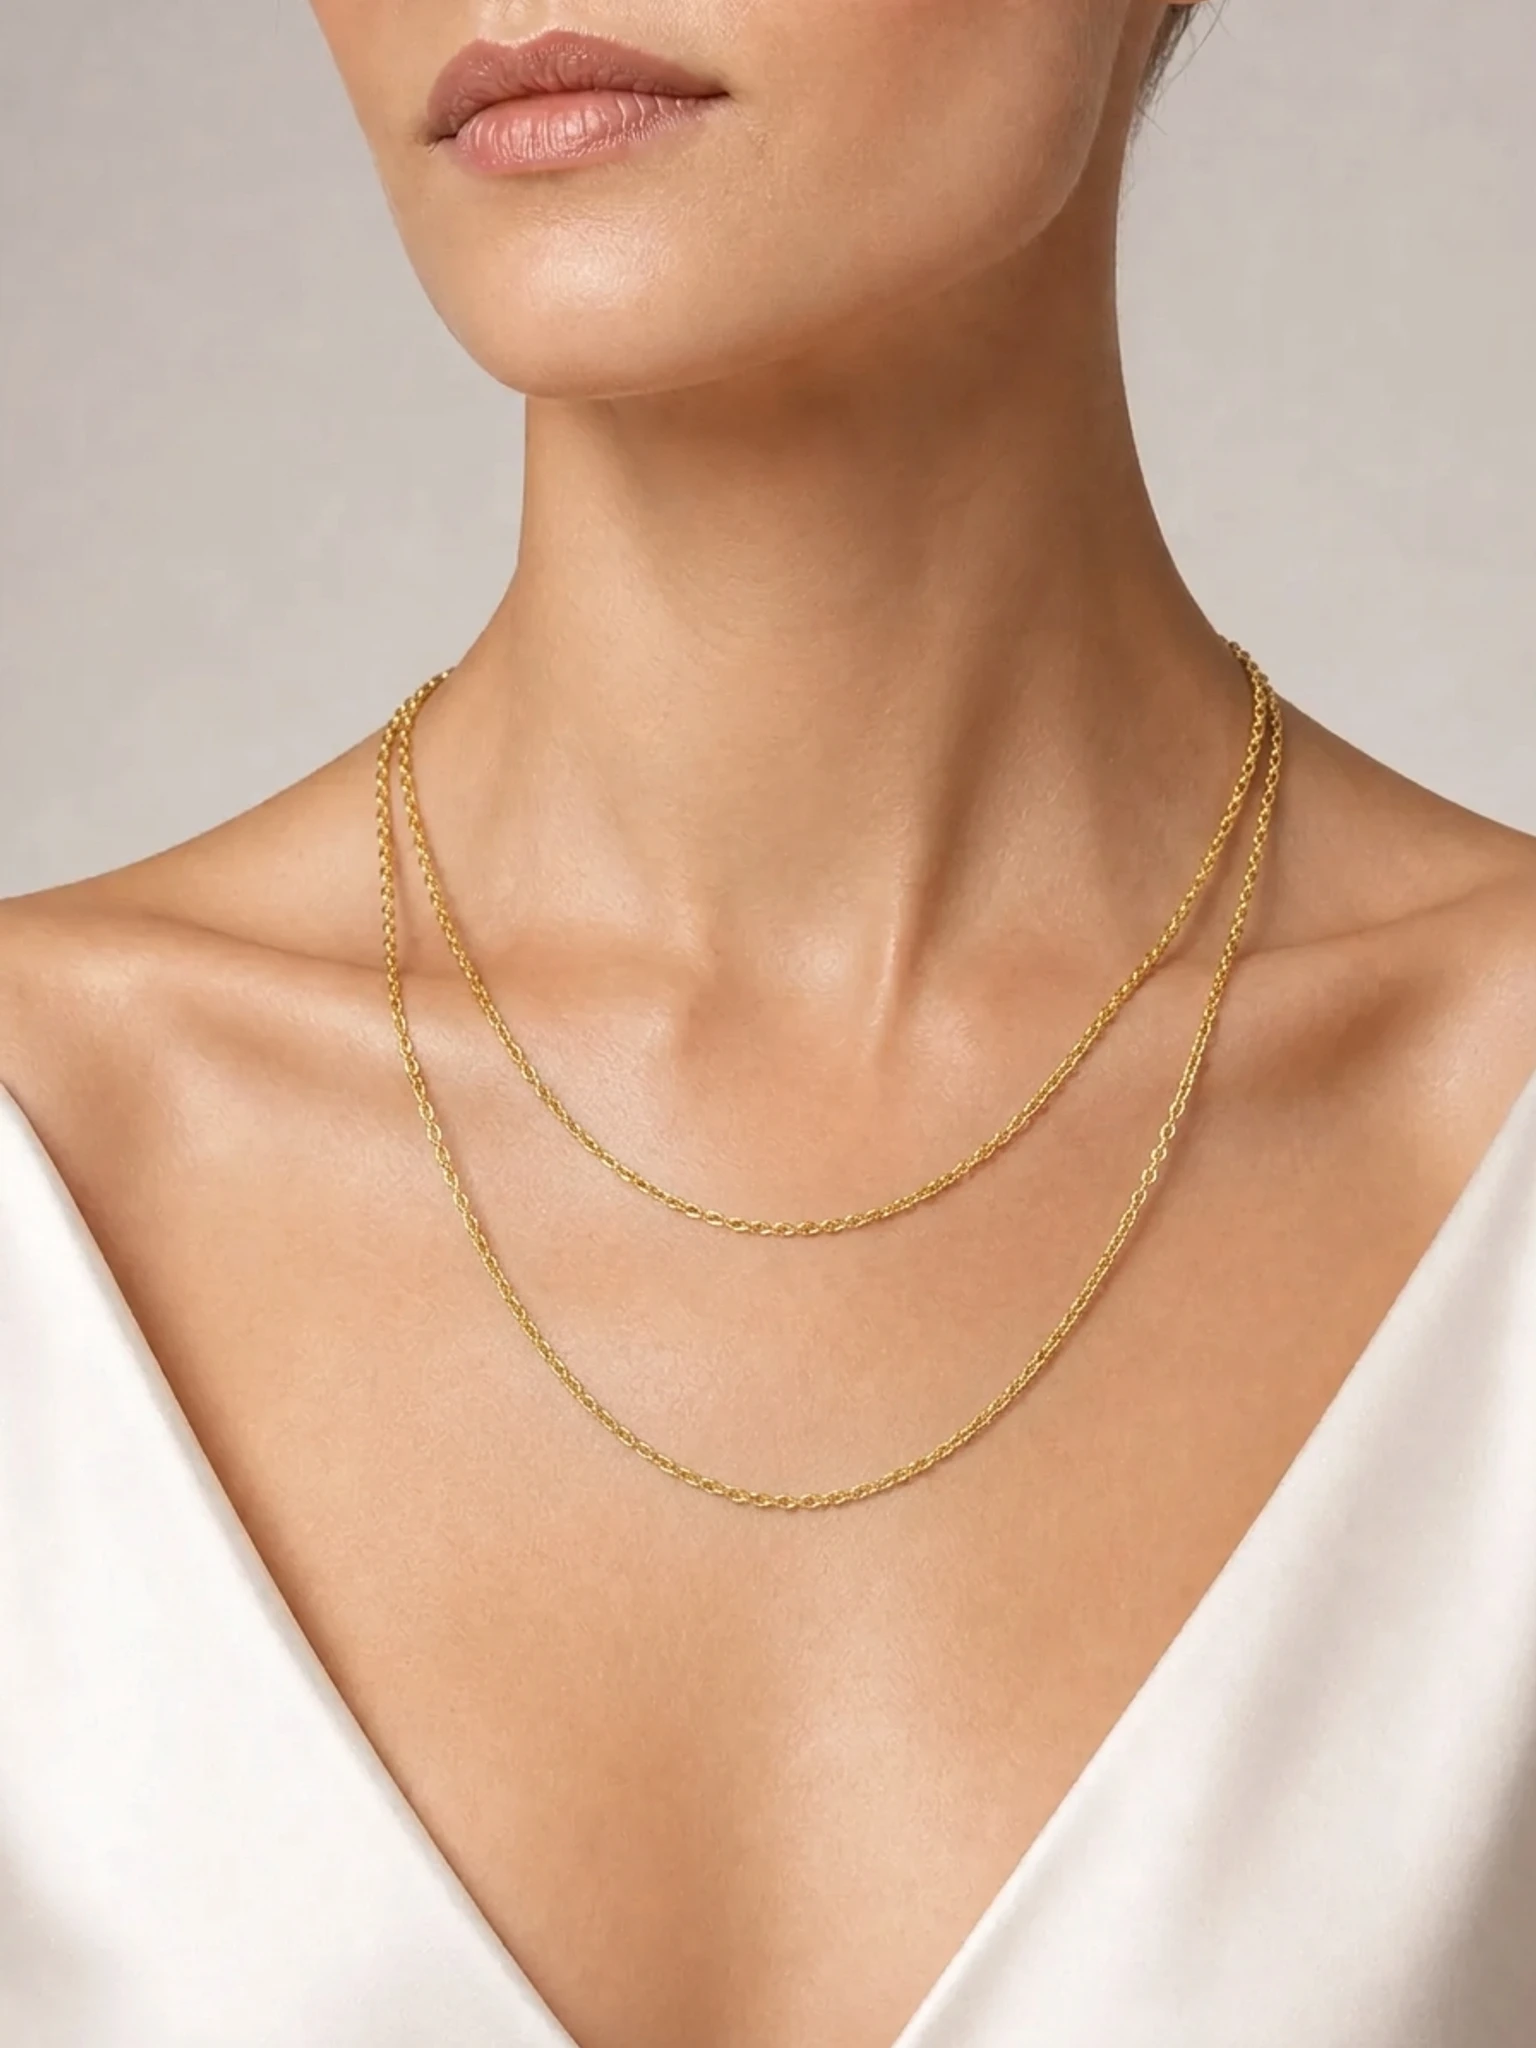
How to Put a Necklace on an AI Model (Including 16" and 18" Lengths)
Show a necklace on an AI model: where 16" and 18" chains usually sit, how to photograph pendants, chokers and lariats, what to check, and what it costs.
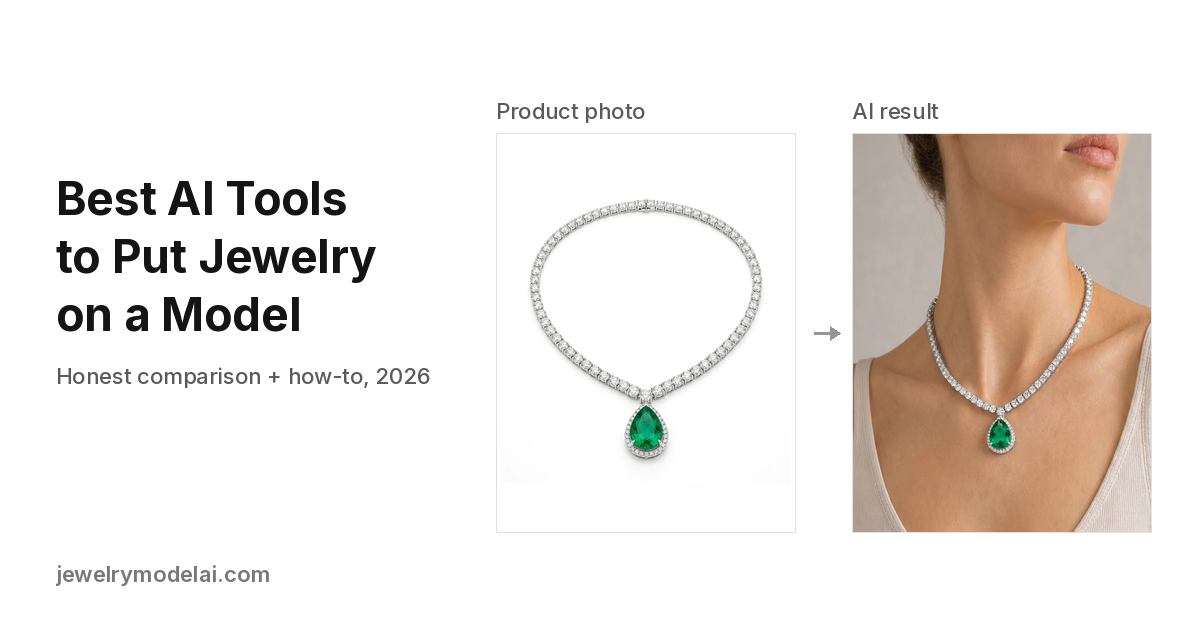
Best AI Tools to Put Jewelry on a Model (2026): Honest Comparison and How-To
Compare 12 AI tools that add jewelry to a model photo from one product shot: rings, necklaces, earrings and bracelets. Features, published prices, detail-preservation checks and a step-by-step guide. Updated October 2026.